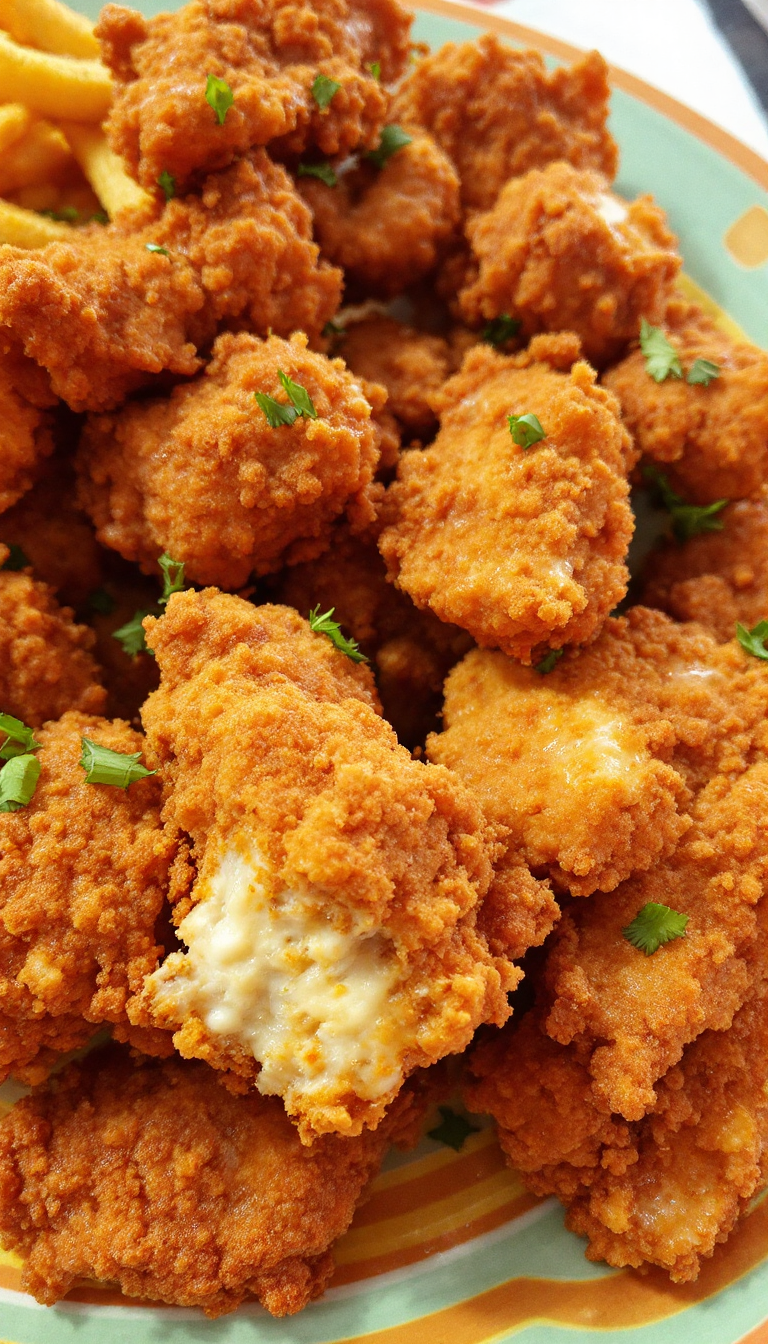
Ah, fried chicken—the ultimate comfort food, right? Picture this:
a crisp, golden crust that shatters with every bite, revealing juicy, tender meat inside. I remember the first time I tried country fried chicken at a small roadside diner; it was like biting into a piece of heaven.
With this recipe, you can recreate that experience at home. It’s like a warm hug, especially on chilly evenings when the world seems a little too much.
Steps
- Wrap each chicken breast in plastic wrap and use a meat tenderizer to flatten them to about 1/2 inch thickness. This step ensures even cooking and creates a better surface for breading.
- Dry the chicken thoroughly, then mix whisked eggs, salt, and buttermilk in a bowl. Submerge the chicken in this mixture and let it marinate for 1 to 2 hours, or overnight for extra tenderness.
- Before frying, allow the marinated chicken to sit at room temperature for around 30 minutes. This helps the chicken cook evenly.
- Coat the chicken in the breading mixture, ensuring every crevice is covered, but do this just before frying to keep the coating fresh.
- Heat enough oil in a skillet to submerge the chicken halfway, bringing the temperature to 350°F. Fry the chicken for 4-5 minutes on each side until it’s golden brown.
- Transfer the fried chicken to a wire rack to let excess oil drain away, which keeps the bottom crispy. Repeat the frying process with all the chicken pieces, and serve with your choice of sides like mashed potatoes and gravy.

Ingredients
- 4 boneless skinless chicken breasts
- 1 ½ cups vegetable oil
- 2 cups buttermilk (or substitution options)
- 2 large eggs, whisked
- 3 teaspoons salt
- 1 ½ cups all-purpose flour
- ½ cup plain or Italian breadcrumbs
- 2 ½ teaspoons seasoned salt
- ¾ teaspoon paprika
- ½ teaspoon cayenne pepper
- 1 ½ teaspoons black pepper
Nutritional Values
Calories: 1392kcal | Carbohydrates: 56g | Protein: 108g | Fat: 80g | Saturated Fat: 56g | Cholesterol: 328mg | Sodium: 2220mg | Potassium: 1840mg | Fiber: 4g | Sugar: 4g | Vitamin A: 760IU | Vitamin C: 4mg | Calcium: 136mg | Iron: 4mg
FAQ
- Why should I tenderize the chicken before frying?
- Tenderizing the chicken makes it exceptionally tender, allows for more breading to adhere to the surface, and ensures even and quicker cooking. Additionally, pounding the chicken thin helps it maintain a restaurant-quality appearance once cooked.
- What is the purpose of soaking chicken in buttermilk?
- Soaking chicken in buttermilk enhances its tenderness and flavor due to enzymes that break down protein fibers. It also helps the breading stick better and contributes to a crispier crust.
- Are there substitutes for buttermilk in this recipe?
- Yes, you can substitute buttermilk with a mixture of ½ cup milk and 1 ½ cups sour cream, or 4 tablespoons milk with enough plain yogurt to make 2 cups. Alternatively, mix 2 tablespoons of white vinegar or lemon juice with enough milk to make 2 cups and let it sit for 10 minutes before using.
- What sides pair well with Country Fried Chicken?
- Country Fried Chicken pairs excellently with mashed potatoes, chicken or brown gravy, cornbread, buttermilk biscuits, and green bean casserole.
- How should I store leftover Country Fried Chicken?
- Store leftover chicken in an airtight container in the refrigerator for up to 3 days or freeze it for up to 3 months for longer storage.
Tips
- Tenderize the Chicken: Use a meat tenderizer to pound the chicken breasts to about 1/2 inch thick. This will ensure the chicken cooks evenly, stays tender, and has more surface area for the breading to adhere to, creating that classic country fried texture.
- Marinate in Buttermilk: Allow the chicken to marinate in a mixture of buttermilk, whisked eggs, and salt for at least 1-2 hours, or overnight if possible. This not only enhances the flavor and tenderness but also helps the breading stick better.
- Bread Just Before Frying: Coat each piece of chicken in the breading mixture right before you’re ready to fry it. This ensures the coating remains dry and adheres well, resulting in a crispier crust.
- Use a Wire Cooling Rack: After frying, place the chicken on a wire cooling rack instead of paper towels. This allows excess oil to drip off without making the bottom of the chicken soggy, maintaining its crispness.
Equipment
- Meat Tenderizer – For pounding the chicken breasts to the desired thickness.
- Cast Iron Skillet – Recommended for frying as it conducts heat well.
- Oil Thermometer – To ensure the oil reaches the correct temperature for frying.
- Fish Spatula – A thin spatula useful for flipping the chicken without damaging the breading.
- Wire Cooling Racks – To allow excess oil to drip off after frying and to prevent the chicken from getting soggy.